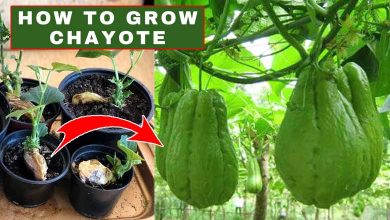
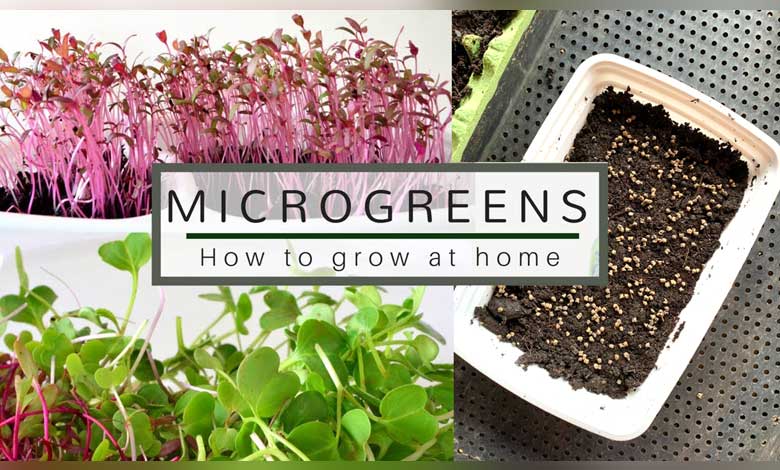
How To Grow Microgreens From Seeds Surprise In The Food List
How to grow microgreens from seeds new surprise in the food list article has full guideline for growing better then you think. Keep see on this article and stay with smallveggarden.com. Check out the menu of a fine restaurant or the product section of a specialty grocery store and you’ll probably be spying on microgreens: tiny, delicate greens that add color, texture and flavor as garnishes or ingredients to a variety of foods. Large in nutrition and taste, buying microgreen can be expensive. However, they can be grown economically at home, in a small space and with general supplies. If you have sunburned windows, a shallow pot, a mixture of some pots and suitable seeds, you have everything you need to grow your own microgreen. This is a great crop for urban gardeners who are limited to a window seal, porch or fire protection.
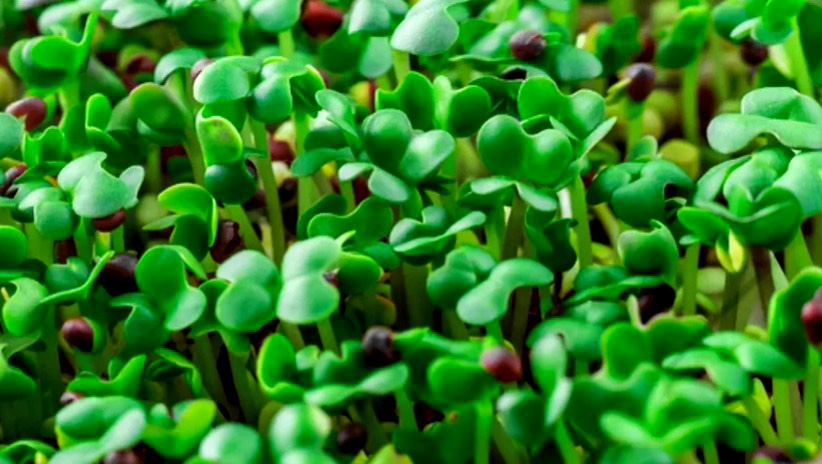
Microgreens are vegetables that are cut at a young age – usually when they are about an inch or two long. These small greens pack a flavorful punch and can be added to salads, sandwiches or stir-fry. Experiment with different blends, add variations of your choice. If you shop for microgreens, you know that they are not cheap. The good news is that microgreens are easy to grow indoors or outdoors. They grow well in garden beds or containers. And they give you a quick harvest so you don’t have to do too much.
Micro-green, micro-herbal or micro-leaf, only leafy herbs and plant seedlings that we usually allow to grow to full size before harvest. All micro-greens are grown in the same way, sown in compost and kept in light. These are so small that they can be grown indoors all year round. These can be grown on almost anything from seed trays and old yoghurt pots to sewer pieces and should be ready for harvest just a week or two after sowing. Scroll down to see how to grow microgreens from seeds article below.
How To Grow Microgreens From Seeds
Growing microgreen is a great garden project for beginners and fun to peek out of their soil. Kids will enjoy helping and watching them grow. Although you can find these delicious mursals in grocery stores or markets, they can be expensive to buy and these packaged greens do not stay in the fridge for very long. Microgreens can grow easily and take up little space, such as a window seal, and you can easily cut out whatever you want to use and keep it fresh from your own garden. Add fresh microgreens to salads, sandwiches and stir-fry. They are also great at pizza.
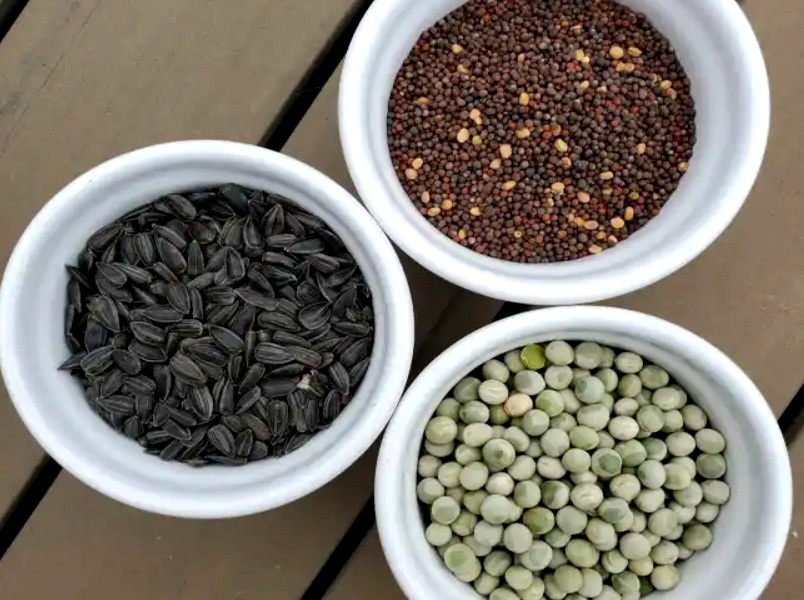
Also known as “vegetable confetti”, microgreens are sometimes confused with sprouts – sprouted seeds that eat the roots, seeds and shoots. Microgreens, however, include a variety of edible immature greens, cut with scissors less than a month after germination, when the plants are up to 2 inches tall. The stalks, cotyledons (or seed leaves) and the first set of true leaves are all edible. Here are some varieties that you can use as microgreens; Mustard, Kale, Endive, Arugula, Beet greens, Spinach, Tatsoi, Radish, Greens, Watercress, Mizuna, Peas, Cabbage, Basil,Lettuce (any).
Start by deciding what you want to plant for microgreen. If you are a beginner, you may want to choose one or two types of seeds first. Some favorite foods include broccoli, lettuce, radishes, cauliflower, spinach, basil or coriander, and try adding some microgreens. You may even find a seed mixture of microgreen in your search. Next, choose the place and container you want to keep them in. Be sure to choose a nice sunny spot (but not too much sun) for their growth. Then determine the growing medium, aka soil, you want to use. An equal mixture of pot soil and peat algae can help retain moisture in the soil, or a seed-starting mixture may also work well.
How To Grow microgreens From Seeds
Seed effectiveness; Salads can be grown as vegetables, herbs, herbs, herbs and even edible flowers microgreen, although some varieties are better suited than others. Newcomers often begin to grow a single variety of seed, such as broccoli, cauliflower, cabbage, mustard, chia, sunflower, or buckwheat – one of the easiest-growing varieties of microgreen – in a single container. (You can easily grow different seeds in different containers and mix your microgreens after harvesting.)
You can also find seeds for salad mixes and seeds for specially selected microgreen blends that combine greens with similar growth rates, consistent flavors and beautiful colors including red, purple and greens. Since they designed with farmers’ success in mind, they are also a good choice for beginners. If your climate is suitable, microgreens can grow in the shade, outside the garden. Like all fragile seedlings, you need to protect them from extreme weather and dry winds, not to mention hungry garden pests.
Tiny leaves and tiny herbs usually eaten fresh and raw, and th e fresher the leaves, the more vitamins and minerals they contain. Each small leaf is a gold mine of vitamins, antioxidants and minerals such as iron, folic acid and potassium.
How To Grow With Some Active Tips
Start with a warm, sunny window (direct sunlight from a south-facing window is ideal) and a small, clean container. Plastic take-out dishes and disposable pie plates work well as a clean fruit or salad box. If your selected container does not have a built-in drainage, make a few drainage holes at the bottom. Microgreens are very easy to grow. You can grow them in the ground, in a raised garden bed, or in a container outside or inside. Then, ready for planting:
- Read the seed packets to see if there are any special instructions.
- Cover the bottom of the pot with an inch or two of moist soil or mixture. Flatten and flatten it with your hand or a small piece of cardboard, taking care not to over-compress the soil.
- Spread the seeds evenly in the soil. Gently press to the ground using your hand or cardboard.
- Cover the seeds with a thin layer of soil. Moisten the surface with a mister. If you wish, you can skip this step and instead cover the container with a clean lid or plastic wrap until the seeds germinate.
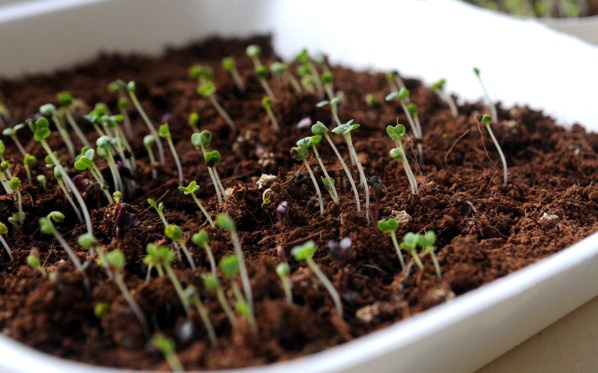
- While waiting for the sprouts to germinate, usually within three to seven days, use Mister once or twice a day to keep the soil moist but not wet.
- Once the seeds have germinated, remove the cover (if you use one) and continue to fog once or twice a day.
- The development of microgreen requires about four hours of direct sunlight per day. In the winter months, some may need more. Leggy, pale greens are a sign of adequate sunlight. The demand for light can also met with increased light.
- Choose a container that is at least 2-inches deep and as large as the diameter you want. Fill it with a good quality organic pot mixture and smooth the soil.
- Spread the seeds so that they are about 1/8 to 1/4 inch apart and cover with 1/8 inch of soil.
- Water the soil with a spray bottle or mister to moisten the soil and place your container in a place where it will expose to sunlight for at least four hours. For interior growth, a south-facing window is best, but an east or west-facing window will do just that.
How To Care microgreens
Do not let the soil dry out. Fog every day, keep soil moist but not wet. You will see the shoot in about three to seven days. Remove any weeds that pop up, so that tiny greens don’t have to compete with them for water and nutrients. If you have rich soil in your garden bed, you will not need to fertilize. For pots, if your pot mix does not already contain fertilizer, it is advisable to mix some granular organic fertilizer in the soil before planting. Microgreens grow for such a short time that they rarely bothered by pests and diseases. However, if you continue to grow brassicas in your mix (mustard, kale, etc.) and cabbage worms are a problem, consider adding a floating row cover to protect them.
Remove any weeds that pop up, so that tiny greens don’t have to compete with them for water and nutrients. The first leaves you see are seed leaves. These are nothing like the real leaves of a tree. The best time to collect microgreens is when they produce the first set of actual leaves within about 10 days to two weeks of planting. To harvest, cut the microgreen just above the soil level.
You will not be able to get extra crop from one planting of microgreen. Because there is not much time for the tree to grow – and you are snatching everything except the very bottom of the stem – there is no way for them to grow again. The good news is that after harvesting, you can simply sow another crop by spreading fresh seeds and covering it with soil. You don’t even need to remove the old roots; These are a good source of organic matter.